Swift CoreData 基础向

创建项目使用coredata模版

框架创建

lifetrip.xcdatamodeld
Persistence.swift

使用

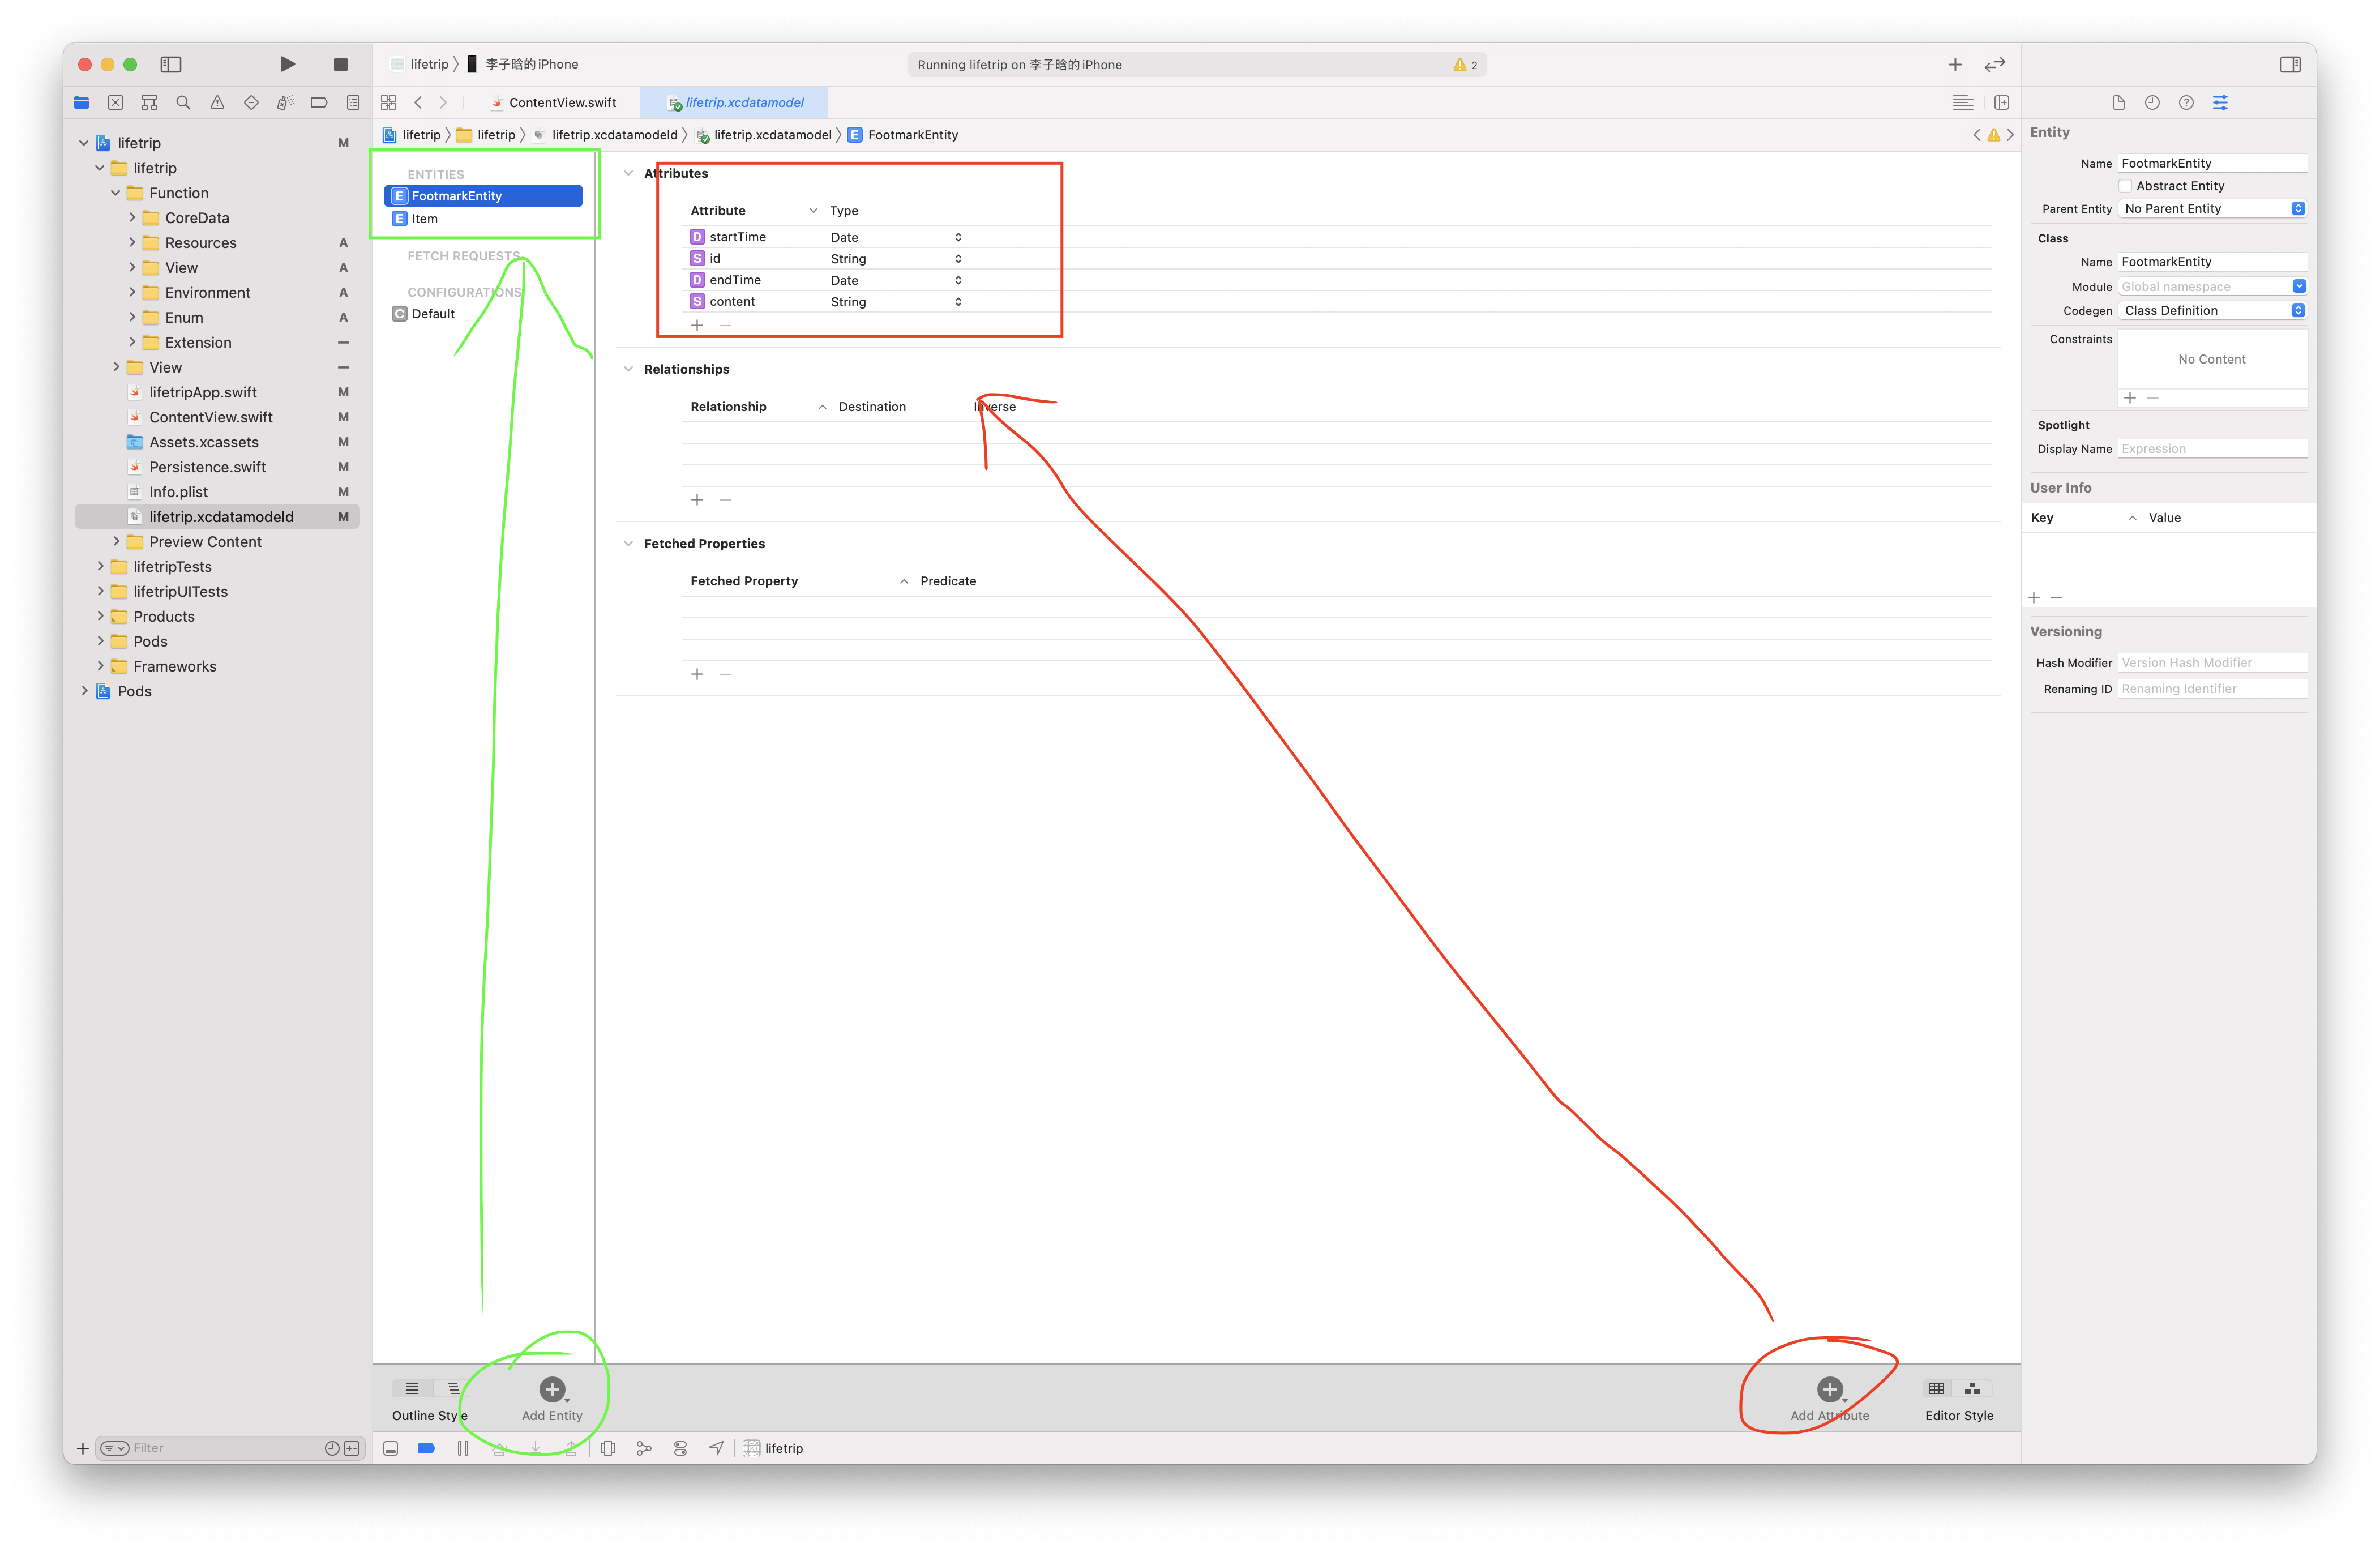
lifetrip.xcdatamodeld 添加实体

添加实体
  1. coredata保存与查询
    代理注入环境
    1
    2
    ContentView()
    .environment(\.managedObjectContext, PersistenceController.shared.container.viewContext)
初始化查询
1
2
3
4
5
6
@Environment(\.managedObjectContext) private var viewContext

@FetchRequest(
sortDescriptors: [NSSortDescriptor(keyPath: \FootmarkEntity.startTime, ascending: false)],
animation: .default)
private var footmarks: FetchedResults<FootmarkEntity>
保存(新增)viewContext.save()
1
2
3
4
5
6
7
8
9
10
11
12
13
14
15
16
17
private func addItem() {
withAnimation {
let newItem = FootmarkEntity(context: viewContext)
// 实体赋值
let randomNumber:Int = Int(arc4random() % 100) + 1
newItem.id = String(randomNumber);
newItem.endTime = Date()
newItem.startTime = Date()
// 保存
do {
try viewContext.save()
} catch {
let nsError = error as NSError
fatalError("添加失败 \(nsError), \(nsError.userInfo)")
}
}
}
  1. 预览模式
    代码
    1
    2
    3
    4
    5
    6
    7
    8
    9
    10
    struct LabelView_Previews: PreviewProvider {
    static var previews: some View {
    let labelEntity: LabelEntity = { () -> LabelEntity in
    let labelEntity = LabelEntity(context: PersistenceController.preview.container.viewContext)
    labelEntity.picture = UIImage(named: "nekosensei")!.pngData()
    return labelEntity
    }()
    return LabelCardView(labelEntity: labelEntity)
    }
    }
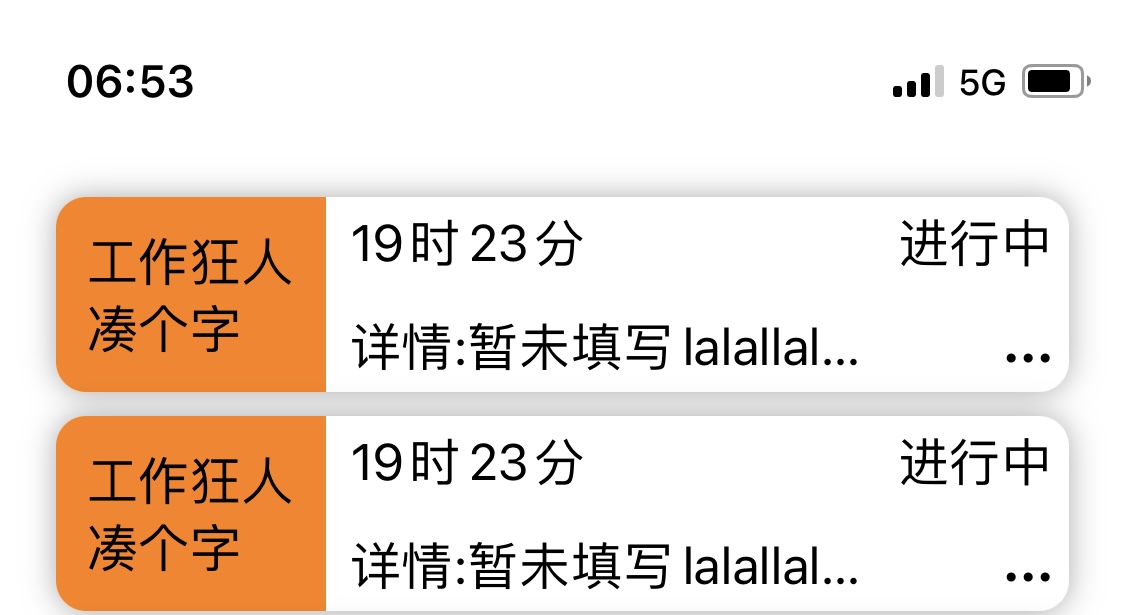
SwiftUI通过监听小键盘高度添加背景,通过点击背景隐藏小键盘

SwiftUI通过监听小键盘高度添加背景,通过点击背景隐藏小键盘

效果图

ExtensionAfterNavigationBackHidden.swift
1
2
3
4
5
6
7
8
9
10
extension UINavigationController: UIGestureRecognizerDelegate {
override open func viewDidLoad() {
super.viewDidLoad()
interactivePopGestureRecognizer?.delegate = self
}

public func gestureRecognizerShouldBegin(_ gestureRecognizer: UIGestureRecognizer) -> Bool {
return viewControllers.count > 1
}
}

swiftui 通过tabview实现图片查看器

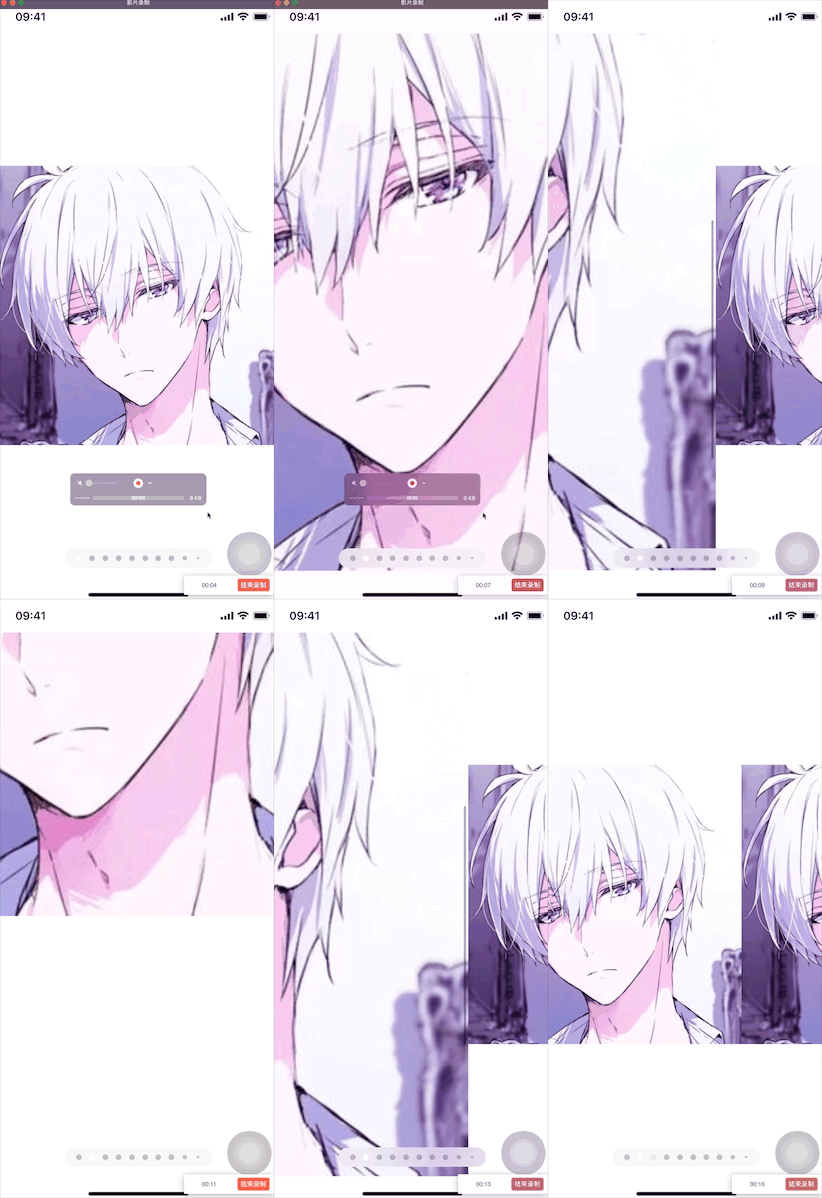
效果图

  • 核心思路为通过tabview包裹图片 然后设置样式.tabViewStyle(PageTabViewStyle()).indexViewStyle(PageIndexViewStyle(backgroundDisplayMode: .always))
  • 通过ZoomableScrollView组件实现图片的缩放,效果可以说是相当完美了
  • 感谢 jtbandes 真的是救我狗命
核心代码
1
2
3
4
5
6
7
8
9
10
11
12
13
14
15
16
17
18
19
20
21
22
23
24
25
26
27
28
29
30
31
32
33
34
35
36
37
38
39
40
41
42
43
44
45
46
47
48
49
50
51
52
53
54
55
56
57
58
59
60
61
62
63
64
65
66
67
68
69
70
71
72
73
74
75
76
77
78
79
80
81
struct ImageTabView: View {
@EnvironmentObject var imageTabViewEnviroment:ImageTabViewEnvironment

var body: some View {
VStack{
TabView(selection:$imageTabViewEnviroment.index) {
ForEach(0..<imageTabViewEnviroment.imageArray.count,id: \.self){ index in
ImageTabViewItemView(imageUrl: imageTabViewEnviroment.imageArray[index])
}
}
.tabViewStyle(PageTabViewStyle())
.indexViewStyle(PageIndexViewStyle(backgroundDisplayMode: .always))
}
.edgesIgnoringSafeArea(.all)
}
}

private struct ImageTabViewItemView:View {
@State var scale: CGFloat = 1
@State private var dragOffset = CGSize.zero
@State var imageUrl: String
var body: some View{
VStack{
ZoomableScrollView {
MyKingfisherView(urlStr: imageUrl)
}
}
.frame(height:UIScreen.main.bounds.height)
.clipped()
}
}

struct ZoomableScrollView<Content: View>: UIViewRepresentable {
private var content: Content

init(@ViewBuilder content: () -> Content) {
self.content = content()
}

func makeUIView(context: Context) -> UIScrollView {
// set up the UIScrollView
let scrollView = UIScrollView()
scrollView.delegate = context.coordinator // for viewForZooming(in:)
scrollView.maximumZoomScale = 20
scrollView.minimumZoomScale = 1
scrollView.bouncesZoom = true

// create a UIHostingController to hold our SwiftUI content
let hostedView = context.coordinator.hostingController.view!
hostedView.translatesAutoresizingMaskIntoConstraints = true
hostedView.autoresizingMask = [.flexibleWidth, .flexibleHeight]
hostedView.frame = scrollView.bounds
scrollView.addSubview(hostedView)

return scrollView
}

func makeCoordinator() -> Coordinator {
return Coordinator(hostingController: UIHostingController(rootView: self.content))
}

func updateUIView(_ uiView: UIScrollView, context: Context) {
// update the hosting controller's SwiftUI content
context.coordinator.hostingController.rootView = self.content
assert(context.coordinator.hostingController.view.superview == uiView)
}

// MARK: - Coordinator

class Coordinator: NSObject, UIScrollViewDelegate {
var hostingController: UIHostingController<Content>

init(hostingController: UIHostingController<Content>) {
self.hostingController = hostingController
}

func viewForZooming(in scrollView: UIScrollView) -> UIView? {
return hostingController.view
}
}
}
swiftui简单的实现选项卡效果,同时初次加载

swiftui简单的实现选项卡效果,同时初次加载

pageView code
1
2
3
4
5
6
7
8
9
10
11
12
13
14
15
16
17
18
19
20
21
22
23
24
25
26
27
28
29
30
31
32
33
34
35
36
37
38
39
40
41
42
43
44
45
46
47
48
49
50
51
52
53
54
55
56
57
58
59
60
61
62
63
64
65
66
67
68
69
70
71
72
73
74
75
76
77
78
79
80
81
struct PageView<SelectionValue, Content>: View where SelectionValue: Hashable, Content: View {
@Binding private var selection: SelectionValue
private let indexDisplayMode: PageTabViewStyle.IndexDisplayMode
private let indexBackgroundDisplayMode: PageIndexViewStyle.BackgroundDisplayMode
private let content: () -> Content

init(
selection: Binding<SelectionValue>,
indexDisplayMode: PageTabViewStyle.IndexDisplayMode = .automatic,
indexBackgroundDisplayMode: PageIndexViewStyle.BackgroundDisplayMode = .automatic,
@ViewBuilder content: @escaping () -> Content
) {
self._selection = selection
self.indexDisplayMode = indexDisplayMode
self.indexBackgroundDisplayMode = indexBackgroundDisplayMode
self.content = content
print(selection)
print(indexDisplayMode)
print(indexBackgroundDisplayMode)
}

var body: some View {
TabView(selection: $selection) {
content()
}
.tabViewStyle(PageTabViewStyle(indexDisplayMode: indexDisplayMode))
.indexViewStyle(PageIndexViewStyle(backgroundDisplayMode: indexBackgroundDisplayMode))
}
}

extension PageView where SelectionValue == Int {
init(
indexDisplayMode: PageTabViewStyle.IndexDisplayMode = .automatic,
indexBackgroundDisplayMode: PageIndexViewStyle.BackgroundDisplayMode = .automatic,
@ViewBuilder content: @escaping () -> Content
) {
self._selection = .constant(0)
self.indexDisplayMode = indexDisplayMode
self.indexBackgroundDisplayMode = indexBackgroundDisplayMode
self.content = content
}
}

struct TestPageView1:View {
var body: some View{
Text("1")
.onLoad {
print("初次加载1")
}
}
}
struct TestPageView2:View {
var body: some View{
Text("2")
.onLoad {
print("初次加载2")
}
}
}
struct TestPageView3:View {
var body: some View{
Text("3")
.onLoad {
print("初次加载3")
}
}
}

struct Test_PageView:View {
@State var selection = 1
var body: some View {
VStack {
Text("Selection: \(selection)")
PageView(selection: $selection, indexBackgroundDisplayMode: .never) {
TestPageView1()
TestPageView2()
TestPageView3()
}
}
}
}
onLoad code
1
2
3
4
5
6
7
8
9
10
11
12
13
14
15
16
17
18
19
20
21
22
23
24
25
26
27
struct ViewDidLoadModifier: ViewModifier {

@State private var didLoad = false
private let action: (() -> Void)?

init(perform action: (() -> Void)? = nil) {
self.action = action
}

func body(content: Content) -> some View {
content.onAppear {
if didLoad == false {
didLoad = true
action?()
}
}
}

}

extension View {

func onLoad(perform action: (() -> Void)? = nil) -> some View {
modifier(ViewDidLoadModifier(perform: action))
}

}
SwiftUI解决隐藏NavigationBar后返回失效

SwiftUI解决隐藏NavigationBar后返回失效

获取小键盘高度

@ObservedObject private var keyboard = KeyboardResponder()
keyboard.currentHeight

通过小键盘高度判断是否需要添加灰色背景,点击灰色背景隐藏小键盘
1
2
3
4
5
6
7
8
9
10
11
12
13
14
if keyboard.currentHeight != 0 {
Color.gray
.edgesIgnoringSafeArea(.all)
.opacity(0.4)
.onTapGesture {
withAnimation(.spring()){
UIApplication.shared.windows.forEach { (window) in
if window.isKeyWindow {
window.endEditing(true)
}
}
}
}
}

效果图

keyboardhandle.swift
1
2
3
4
5
6
7
8
9
10
11
12
13
14
15
16
17
18
19
20
21
22
23
24
25
26
27
28
29
30
31
32
33
34
35
36
37
38
39
40
41
42
43
44
45
46
47
48
49
50
51
import UIKit
import Foundation
import SwiftUI
import Combine
class KeyboardResponder: ObservableObject {
private var _center: NotificationCenter
@Published var currentHeight: CGFloat = 0

init(center: NotificationCenter = .default) {
_center = center
_center.addObserver(self, selector: #selector(keyBoardWillShow(notification:)), name: UIResponder.keyboardWillShowNotification, object: nil)
_center.addObserver(self, selector: #selector(keyBoardWillHide(notification:)), name: UIResponder.keyboardWillHideNotification, object: nil)
}

deinit {
_center.removeObserver(self)
}

@objc func keyBoardWillShow(notification: Notification) {
if let keyboardSize = (notification.userInfo?[UIResponder.keyboardFrameEndUserInfoKey] as? NSValue)?.cgRectValue {
currentHeight = keyboardSize.height
}
}

@objc func keyBoardWillHide(notification: Notification) {
currentHeight = 0
}
}

class KeyboardHeightHelper: ObservableObject {
@Published var keyboardHeight: CGFloat = 0

init() {
self.listenForKeyboardNotifications()
}
private func listenForKeyboardNotifications() {
NotificationCenter.default.addObserver(forName: UIResponder.keyboardDidShowNotification,
object: nil,
queue: .main) { (notification) in
guard let userInfo = notification.userInfo,
let keyboardRect = userInfo[UIResponder.keyboardFrameEndUserInfoKey] as? CGRect else { return }
self.keyboardHeight = keyboardRect.height
}

NotificationCenter.default.addObserver(forName: UIResponder.keyboardDidHideNotification,
object: nil,
queue: .main) { (notification) in
self.keyboardHeight = 0
}
}
}

:D 一言句子获取中...