html使用vue模版
摘要
点击查看更多
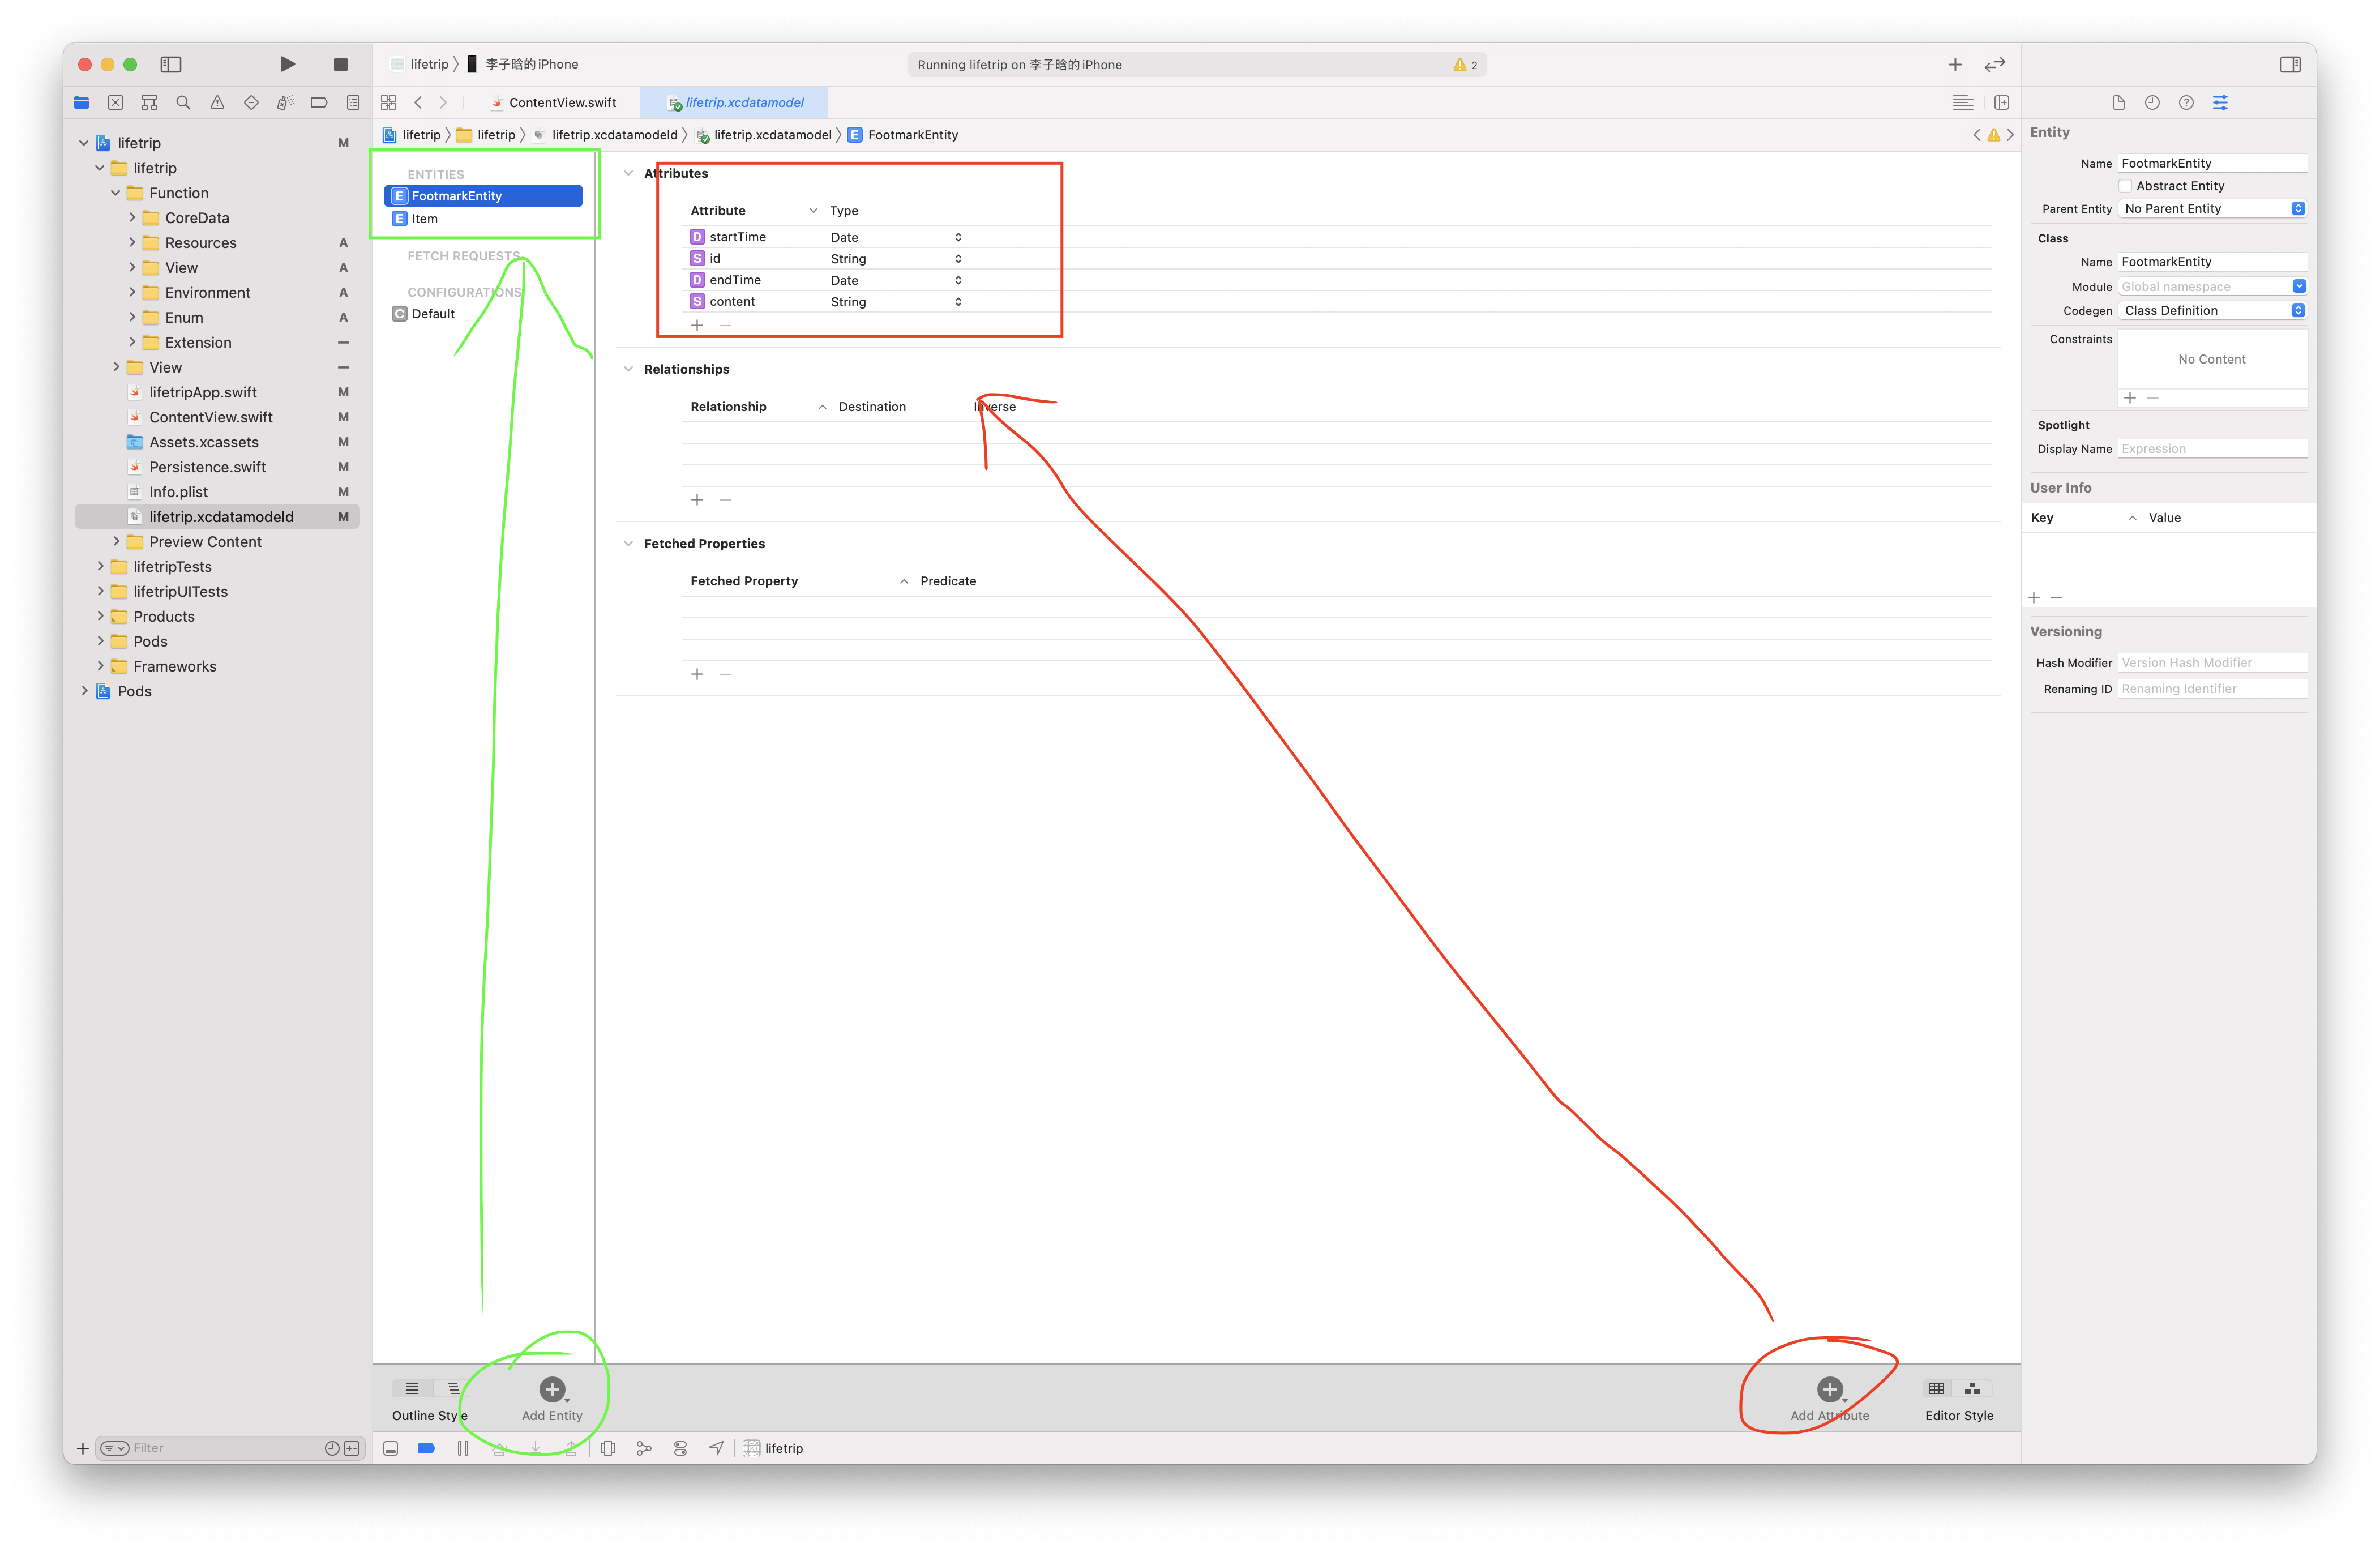
lifetrip.xcdatamodeld
Persistence.swift
lifetrip.xcdatamodeld 添加实体
添加实体
1 | ContentView() |
1 | @Environment(\.managedObjectContext) private var viewContext |
1 | private func addItem() { |
1 | struct LabelView_Previews: PreviewProvider { |
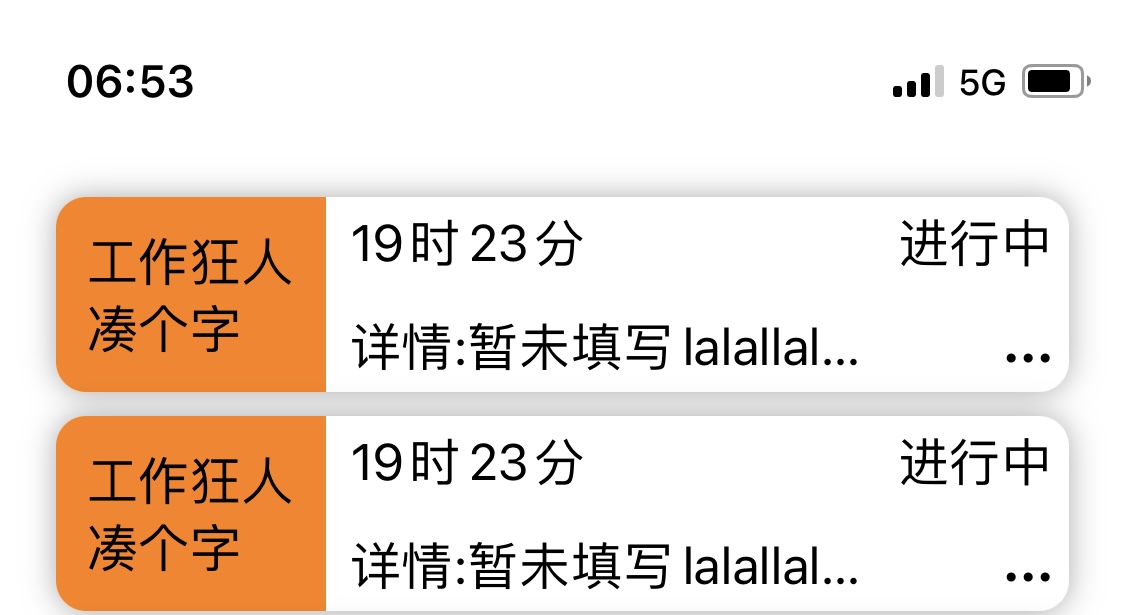
效果图
1 | extension UINavigationController: UIGestureRecognizerDelegate { |
效果图
1 | struct ImageTabView: View { |
1 | struct PageView<SelectionValue, Content>: View where SelectionValue: Hashable, Content: View { |
1 | struct ViewDidLoadModifier: ViewModifier { |

@ObservedObject private var keyboard = KeyboardResponder()
keyboard.currentHeight
1 | if keyboard.currentHeight != 0 { |
效果图

1 | import UIKit |

(1)安装node版本管理模块n
1 | sudo npm install n -g |
(2.1)安装稳定版
1 | sudo n stable |
(2.2)安装最新版
1 | sudo n latest |
(2.3) 版本降级/升级
1 | sudo n 版本号//例如:sudo n 9.1.7 |
————————————————
版权声明:本文为CSDN博主「姜无忧」的原创文章,遵循CC 4.0 BY-SA版权协议,转载请附上原文出处链接及本声明。
原文链接:https://blog.csdn.net/xiasohuai/article/details/92995717